My daughter received as a gift a children’s camera (ITSHINY or other similar manufacturers) with which she tries her hand at many artistic shots (50 author blurbs). I do not want to do a review of the device, but I do want to tell you about the situation I found myself in when I wanted to download the last photographs I took. In fact, I connected the machine via USB cable to my computer and strangely no disk appeared to download the photos. Panic, I lost all the photos (it wasn’t a problem but some were even nice).
The micro SD seems to have been corrupted and when you connect it to the computer it appears to be empty and the proposal to solve the problem is to format the card.
Situation#
- by connecting the camera to the computer
Mass Storageappears on the device display, but no data volume is mounted in Ubuntu. Or a volume is mounted, but its contents are strange and the photos are not visible - if you disconnect the cable on the device you can view the photos (there is hope)
- in the
Disksapplication a 31-32 GB flash drive appears with the name:GENPLUS USB-MSDC DISK - eEGENARPLUL-SSMC, the partition formatting is unknown. Or if mounted it is recognized as FAT32
What to do#
- Calm down, the photos should still be recoverable. But how?
- Under
Disksselect the device and partition of interest. Press on the gear icon (More Partitioning Options) and select the option Create Partition Image and then Start Creating. This will create a backup copy of the micro SD and can be used as the basis for photo recovery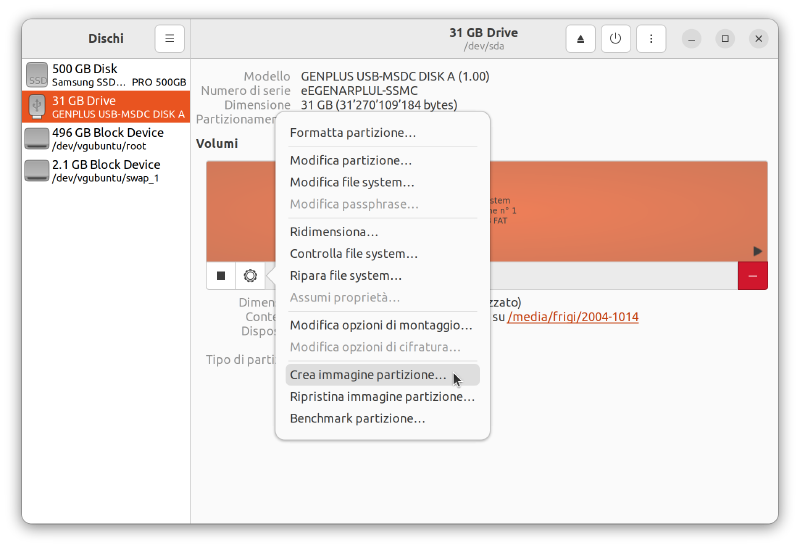
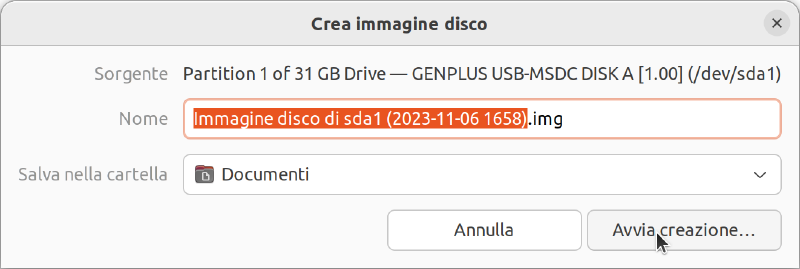
- At the end of image creation make a copy of the image (because you usually get something wrong the first time)
- Remove the camera, so that you don’t accidentally write to the micro SD
- Install
testdiskwith the command:
sudo apt install testdisk- Run testdisk using the partition image created:
testdisk Documenti/Immagine_disco_TUO_NOME.imgPress
ENTERon theProceedoption (only the created image partition should appear, otherwise first select it and then continue)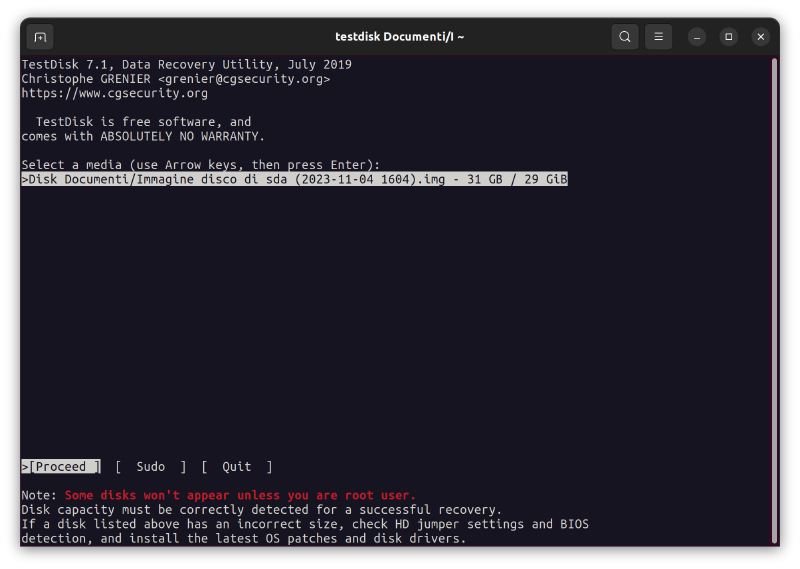
Select the
Inteloption and pressENTER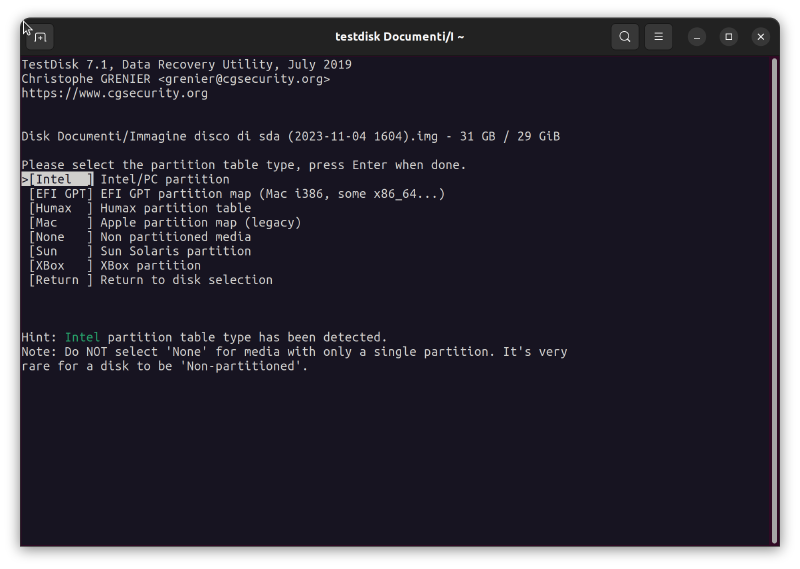
Select the
Advancedoption and pressENTER. This works only if the partition is already recognized as FAT32, otherwise you have to run the analysis first.
First select the
Bootoption and then theListoption.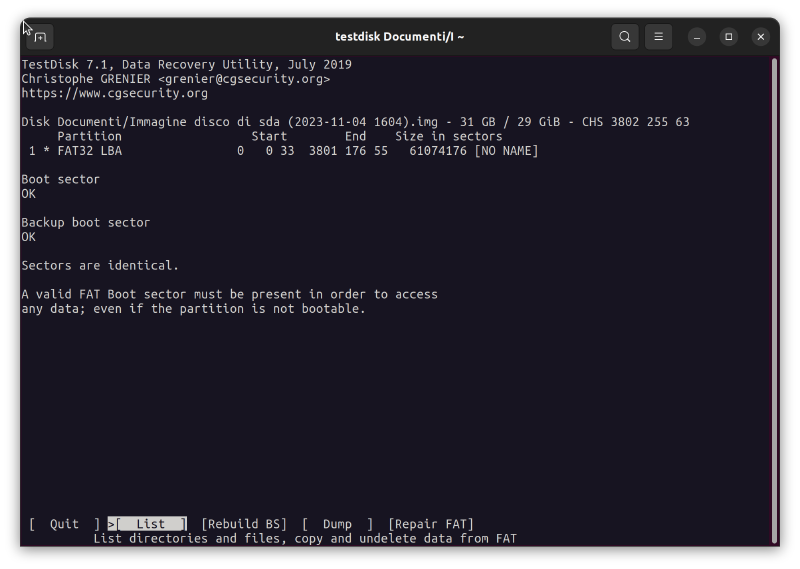
Here you can navigate the folders and files recognized by
testdisk. Navigation is possible with the arrows (see help below). Go to select the necessary folder, in our case we can directly select theDCIMfolder and by pressingCyou will be asked where you want to save the folder on your system. When you have reached your chosen destination pressCto confirm and start copying the data.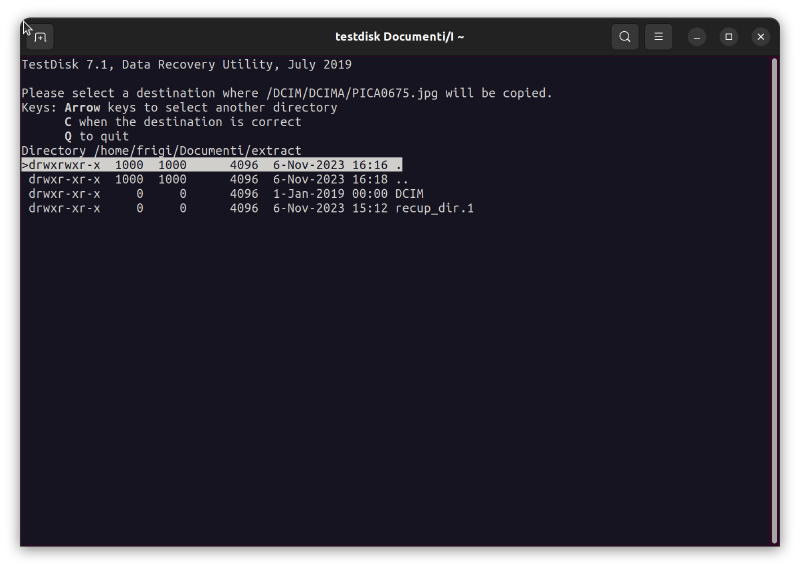
Congratulations you have recovered the missing photographs!
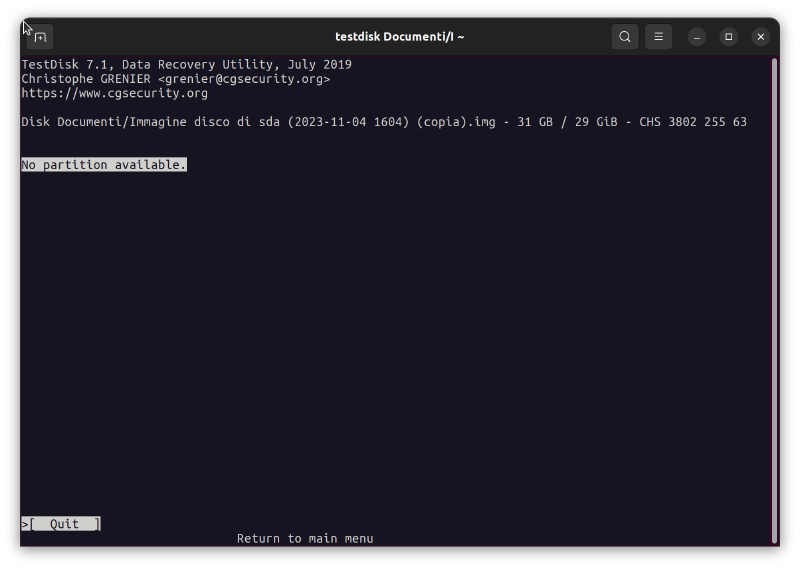
Partition analysis#
If you see the screen below in step 9 of the previous chapter, it means that your partition has not yet been recognized a you need to create a boot partition.
Open the
Analysemenu and choose the only available optionQuick Search.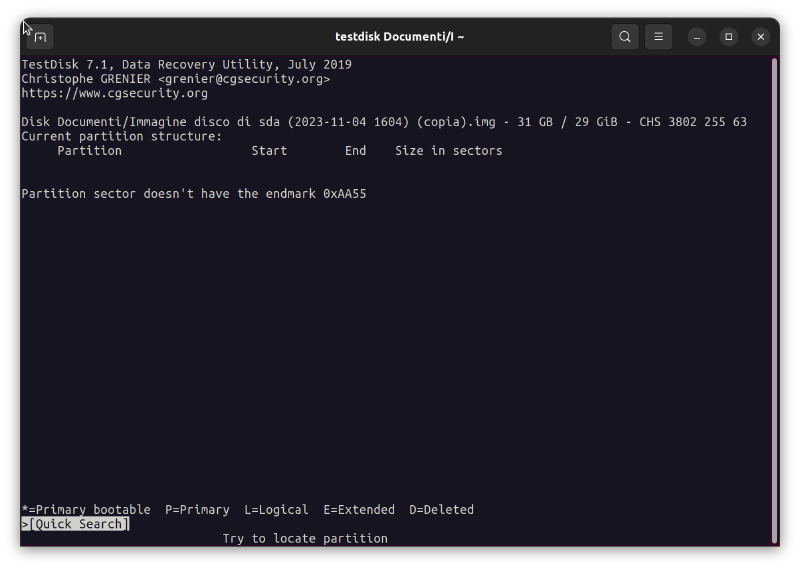
After pressing
ENTERa few times, several options appear at the bottom includingDeep SearchandWrite. Choose the latter and pressENTER. Then confirm withY. A message will appear that a reboot is required, confirm by pressingENTERagain.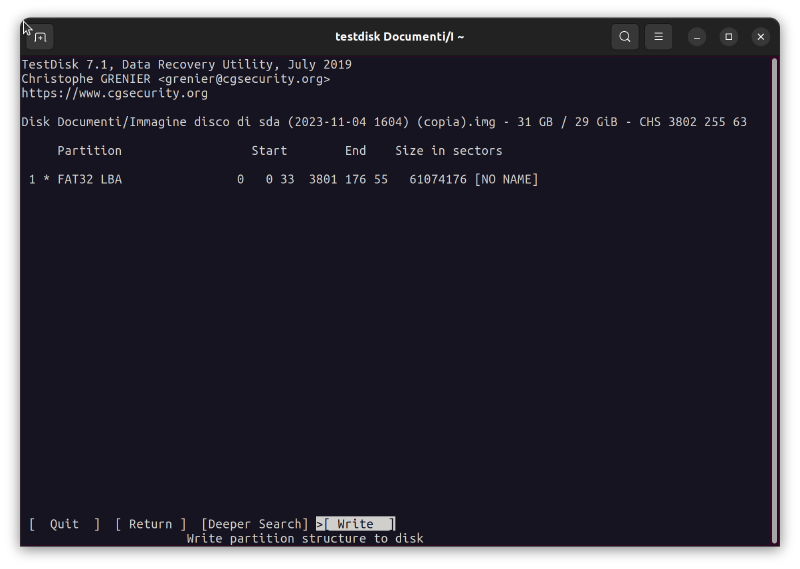
Without having to restart the computer you can go to the
Advancedmenu and return to step number 9
Conclusion#
Micro SD corruption happens when you connect the camera to the computer and disconnect it in a not very clean way (ejecting the device properly). But if it happens then it can be remedied with the guide listed above.